


STEM Education Series
Hydraulic Gripper Kit
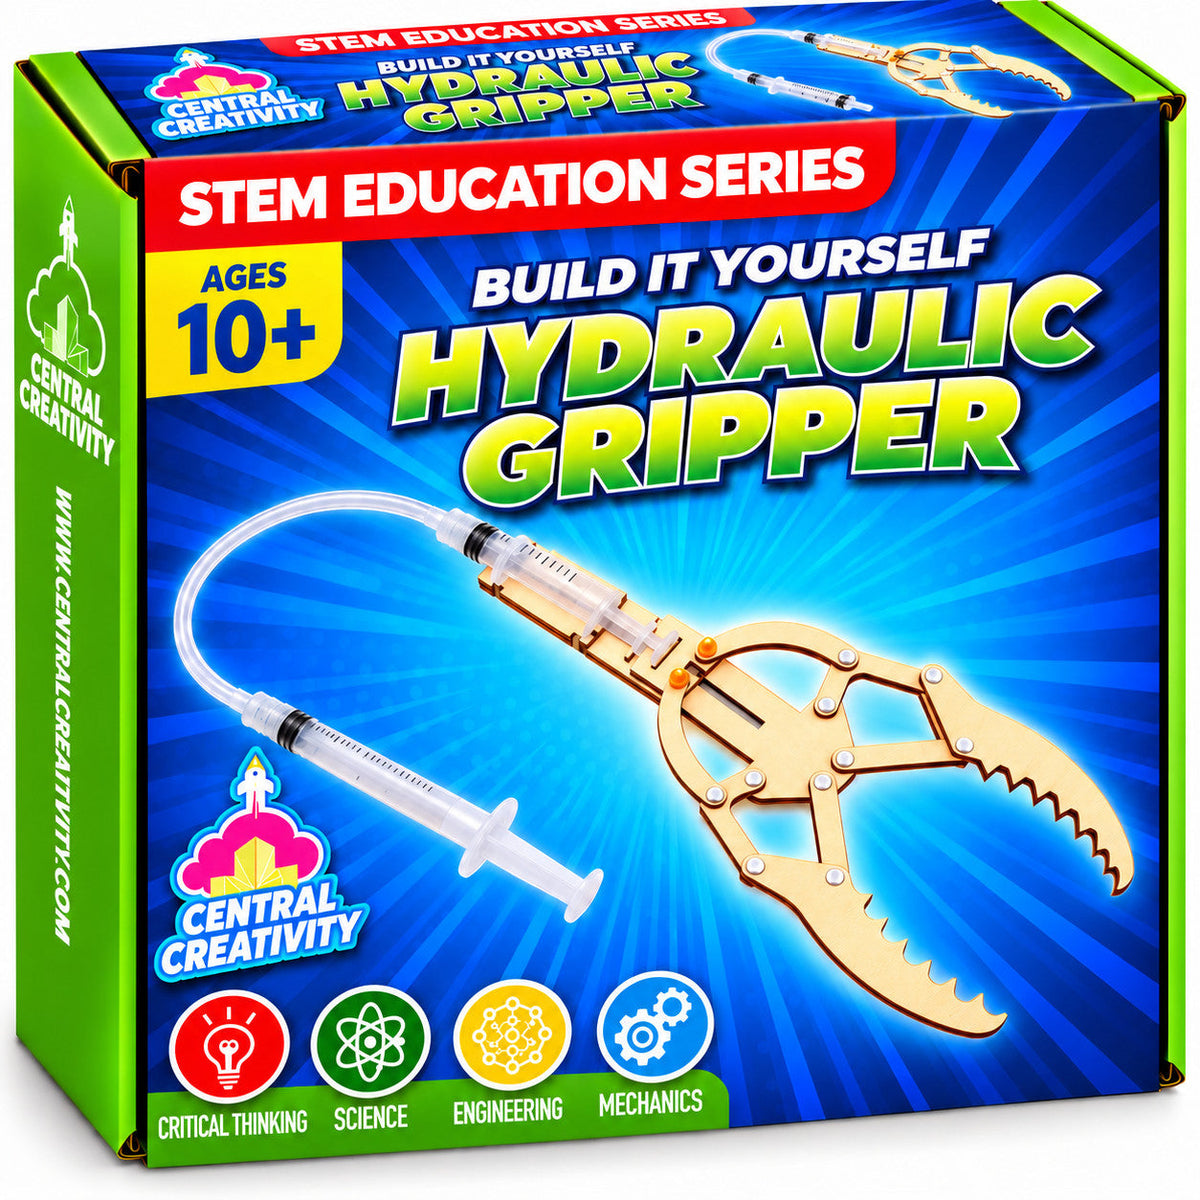
A wooden gripper that runs on water. Two syringes joined by a clear hose: you hold one, the other is strapped to the tool. Push your plunger and the jaws close; pull it back and they open. No motor, no battery, no electronics anywhere in it.
It is the simplest honest demonstration of why hydraulics exist. Water will not compress, so a push at one end of a sealed hose arrives at the other end undiminished, around corners a solid rod could never follow. That is the principle behind the brakes in a car, a bottle jack and an excavator, and it is in prosthetic limbs too — a hydraulic knee uses a fluid cylinder to control how fast the knee folds and straightens as someone walks. Eleven steps, and the single-motion sibling of our Hydraulic Arm Kit.
Hydraulic Gripper Kit
The Big Idea
One syringe in your hand, one on the tool, a hose between them. Push the plunger and the jaws close on whatever you have put in front of them.
- Ages
- 8+8+ to build alone, and 6 with an adult at the table. Eleven steps, no wiring and no flame. The fiddly part is seating pins and orange rings in small wooden holes, which is patience rather than difficulty. The carton's own floor is 6, so that is the number we hold to rather than a lower one.
- Build time
- About 45 minutes
- Hydraulics
- Engineering
- Mechanical Design
- Problem Solving
Safety
- This kit contains small parts and is not suitable for children under 6 years of age. Adult supervision is recommended.
- The kit runs on water. Fill and test it over a tray or a wipeable surface, and keep it away from anything that should not get wet.

What’s in the Kit
- Laser-cut wooden pieces, including the main pole, the toothed jaws and the pad
- Curved rods, L-shaped rods and I-shaped rods
- Two syringes
- Clear hose
- Shafts and orange fixing rings
- Zip ties
- Illustrated instruction sheet
What you add
- Water
- Scissors
- A roll of tape, or another small object to pick up
Real-world connection
Why water, and not a string?
Press on a sealed syringe full of water and almost nothing happens to the water. It will not squash down the way air does, and that one property is what makes hydraulics work: push on a trapped liquid at one end and it moves at the other end immediately, by an amount you can predict. That is Pascal's principle, and it is why a hose full of water can carry a push around a corner that no rigid rod could follow.
That is this tool exactly. Fill one syringe, push the other all the way in before joining them so the line starts airless, then work the loose plunger: water moves down the hose, the far plunger comes out, the slider travels along the pole, and the linkage turns that straight push into jaws swinging shut. Air is the instructive failure. Fill with air instead and the plunger squashes down while the jaws barely move, because the gas absorbs the push rather than passing it on. That is why a trapped bubble makes real hydraulic brakes feel soft, and why step 10 has you empty the second syringe completely before the hose goes on.
Scaled up, the same circuit is how industry moves heavy things. A tractor's front loader runs on it: the operator moves a lever, a pump sends oil down a hose, and a cylinder swings a steel grapple shut on a pile of brush. Excavators, log loaders, dump beds, scissor lifts and car brakes all work the same way -- a push sent through a liquid to somewhere a solid linkage could not reach.
One difference between this kit and that loader is worth knowing. Both syringes here are the same size, so you get about the same force out as you put in. Hydraulics multiply force only when the two cylinders differ in area: a small plunger pushing a big one, which is how a bottle jack lifts a car by hand, and how a grapple grips harder than any person could. If you want these jaws to grip harder, you do not need a bigger push. You need a bigger cylinder at the other end.

The build
-
Punch out the wood
Everything comes on laser-cut sheets, and the pieces press out by hand.
-
Build the slider
Two small pieces lock together to make the carriage that rides the main pole.
-
Strap on the syringe
A zip tie holds one syringe to the slider, and the curved rods go on with pins and orange rings.
-
Lay in the pole
The main pole goes under the syringe with the pad between them, zip-tied so the whole stack holds together.
-
Hang the jaws
L-shaped rods join the curved arms, I-shaped rods go on the tip of the pole, and the toothed jaws pin onto those.
-
Prime it and drive it
Fill the loose syringe with water, push the one on the tool all the way in, join them with the hose, and work the plunger.

For classrooms
One kit builds one gripper. Eleven steps and no electronics means it fits a single period comfortably, which the Hydraulic Arm Kit at seventeen steps does not. The last three steps are the water, and they take a minute.
It wants water, so plan for that before thirty students are holding syringes. Fill at one station rather than at every desk, work over trays, and have paper towels out from the start. The one step a room will get wrong is step 10: the syringe on the tool has to be pushed all the way in BEFORE the hose goes on, or there is air in the line and the jaws feel spongy. Then give them something to pick up -- a roll of tape is what the guide uses and it is a good choice, because it is light enough to lift and awkward enough to be a real test.
The pair of kits is better than either alone. Build the gripper first and the arm after, and the question answers itself: this one has a single hydraulic circuit and one motion, the arm has several and can reach, turn and lift. That is the whole of what adding degrees of freedom buys you, and students can hold both.
If you are running it from the Science of Healthcare guide, the prosthetics framing does real work here, but the honest version is sharper than the obvious one. Hydraulics in prosthetics live in the knee and their job there is to resist, not to push. That gives the guide's closing question -- how did your model mimic a real limb, and what would you improve -- an answer a student can actually reach.
Purchasing for your school or program? Request a quote.